
As we move into an era of increasingly powerful processors, ensuring the optimal cooling of your CPU has become more important than ever. Corsair has been a long-standing leader in this field, especially with their range of liquid cooling systems. In this article, we will walk you through the detailed steps to install a liquid cooling system in a Corsair iCUE 4000X RGB case. This process is not as daunting as it may seem at first, and the benefits of improved thermal management will far outweigh the effort involved.
Before we dive into installing the liquid cooler, the first step involves preparing your case and motherboard. This involves removing any existing fans or cooling systems, and preparing the space for your liquid cooler.
Topic to read : How can you set up a remote desktop environment using a Raspberry Pi 4 with VNC for remote work?
First, remove the front panel of the Corsair iCUE 4000X RGB case. This can be done by pulling the panel towards you from the bottom. Once removed, you will find three preinstalled 120mm RGB fans. Unscrew these fans, taking care not to damage the RGB cables. Once the fans are removed, you will have a clear view of the front of the case where the radiator of your liquid cooler will be installed.
Next, prepare your motherboard. If your CPU is already installed on the motherboard, remove the pre-installed cooler. Clean the thermal paste from the CPU with a clean cloth or tissue. Be gentle to avoid damaging the CPU. Now, your case and motherboard are ready for the installation of a liquid cooler.
In the same genre : What are the steps to configure a high-speed 10GbE network using a Netgear XS712T switch for a small office?
Before you go further, it's crucial to choose a liquid cooler that suits your needs. Corsair offers a range of high-end liquid coolers, also known as All-In-One (AIO) coolers, like the Corsair H100i RGB Platinum, which offers superior cooling performance and vibrant RGB lighting.
When choosing a cooler, consider the size of the radiator, the number of fans it supports, its compatibility with your motherboard, and the space available inside your Corsair iCUE 4000X RGB case.
Once you've chosen your liquid cooler, it's time to install it. Start by attaching the fans to the radiator. Align the holes on the radiator with those on the fans. Use the screws provided with the cooler to secure the fans to the radiator. Make sure the cable from the fans is facing the backside of the case for cleaner cable management.
Next, attach the radiator to the front of the case from where you removed the panel. Once again, line up the screw holes and tighten the screws.
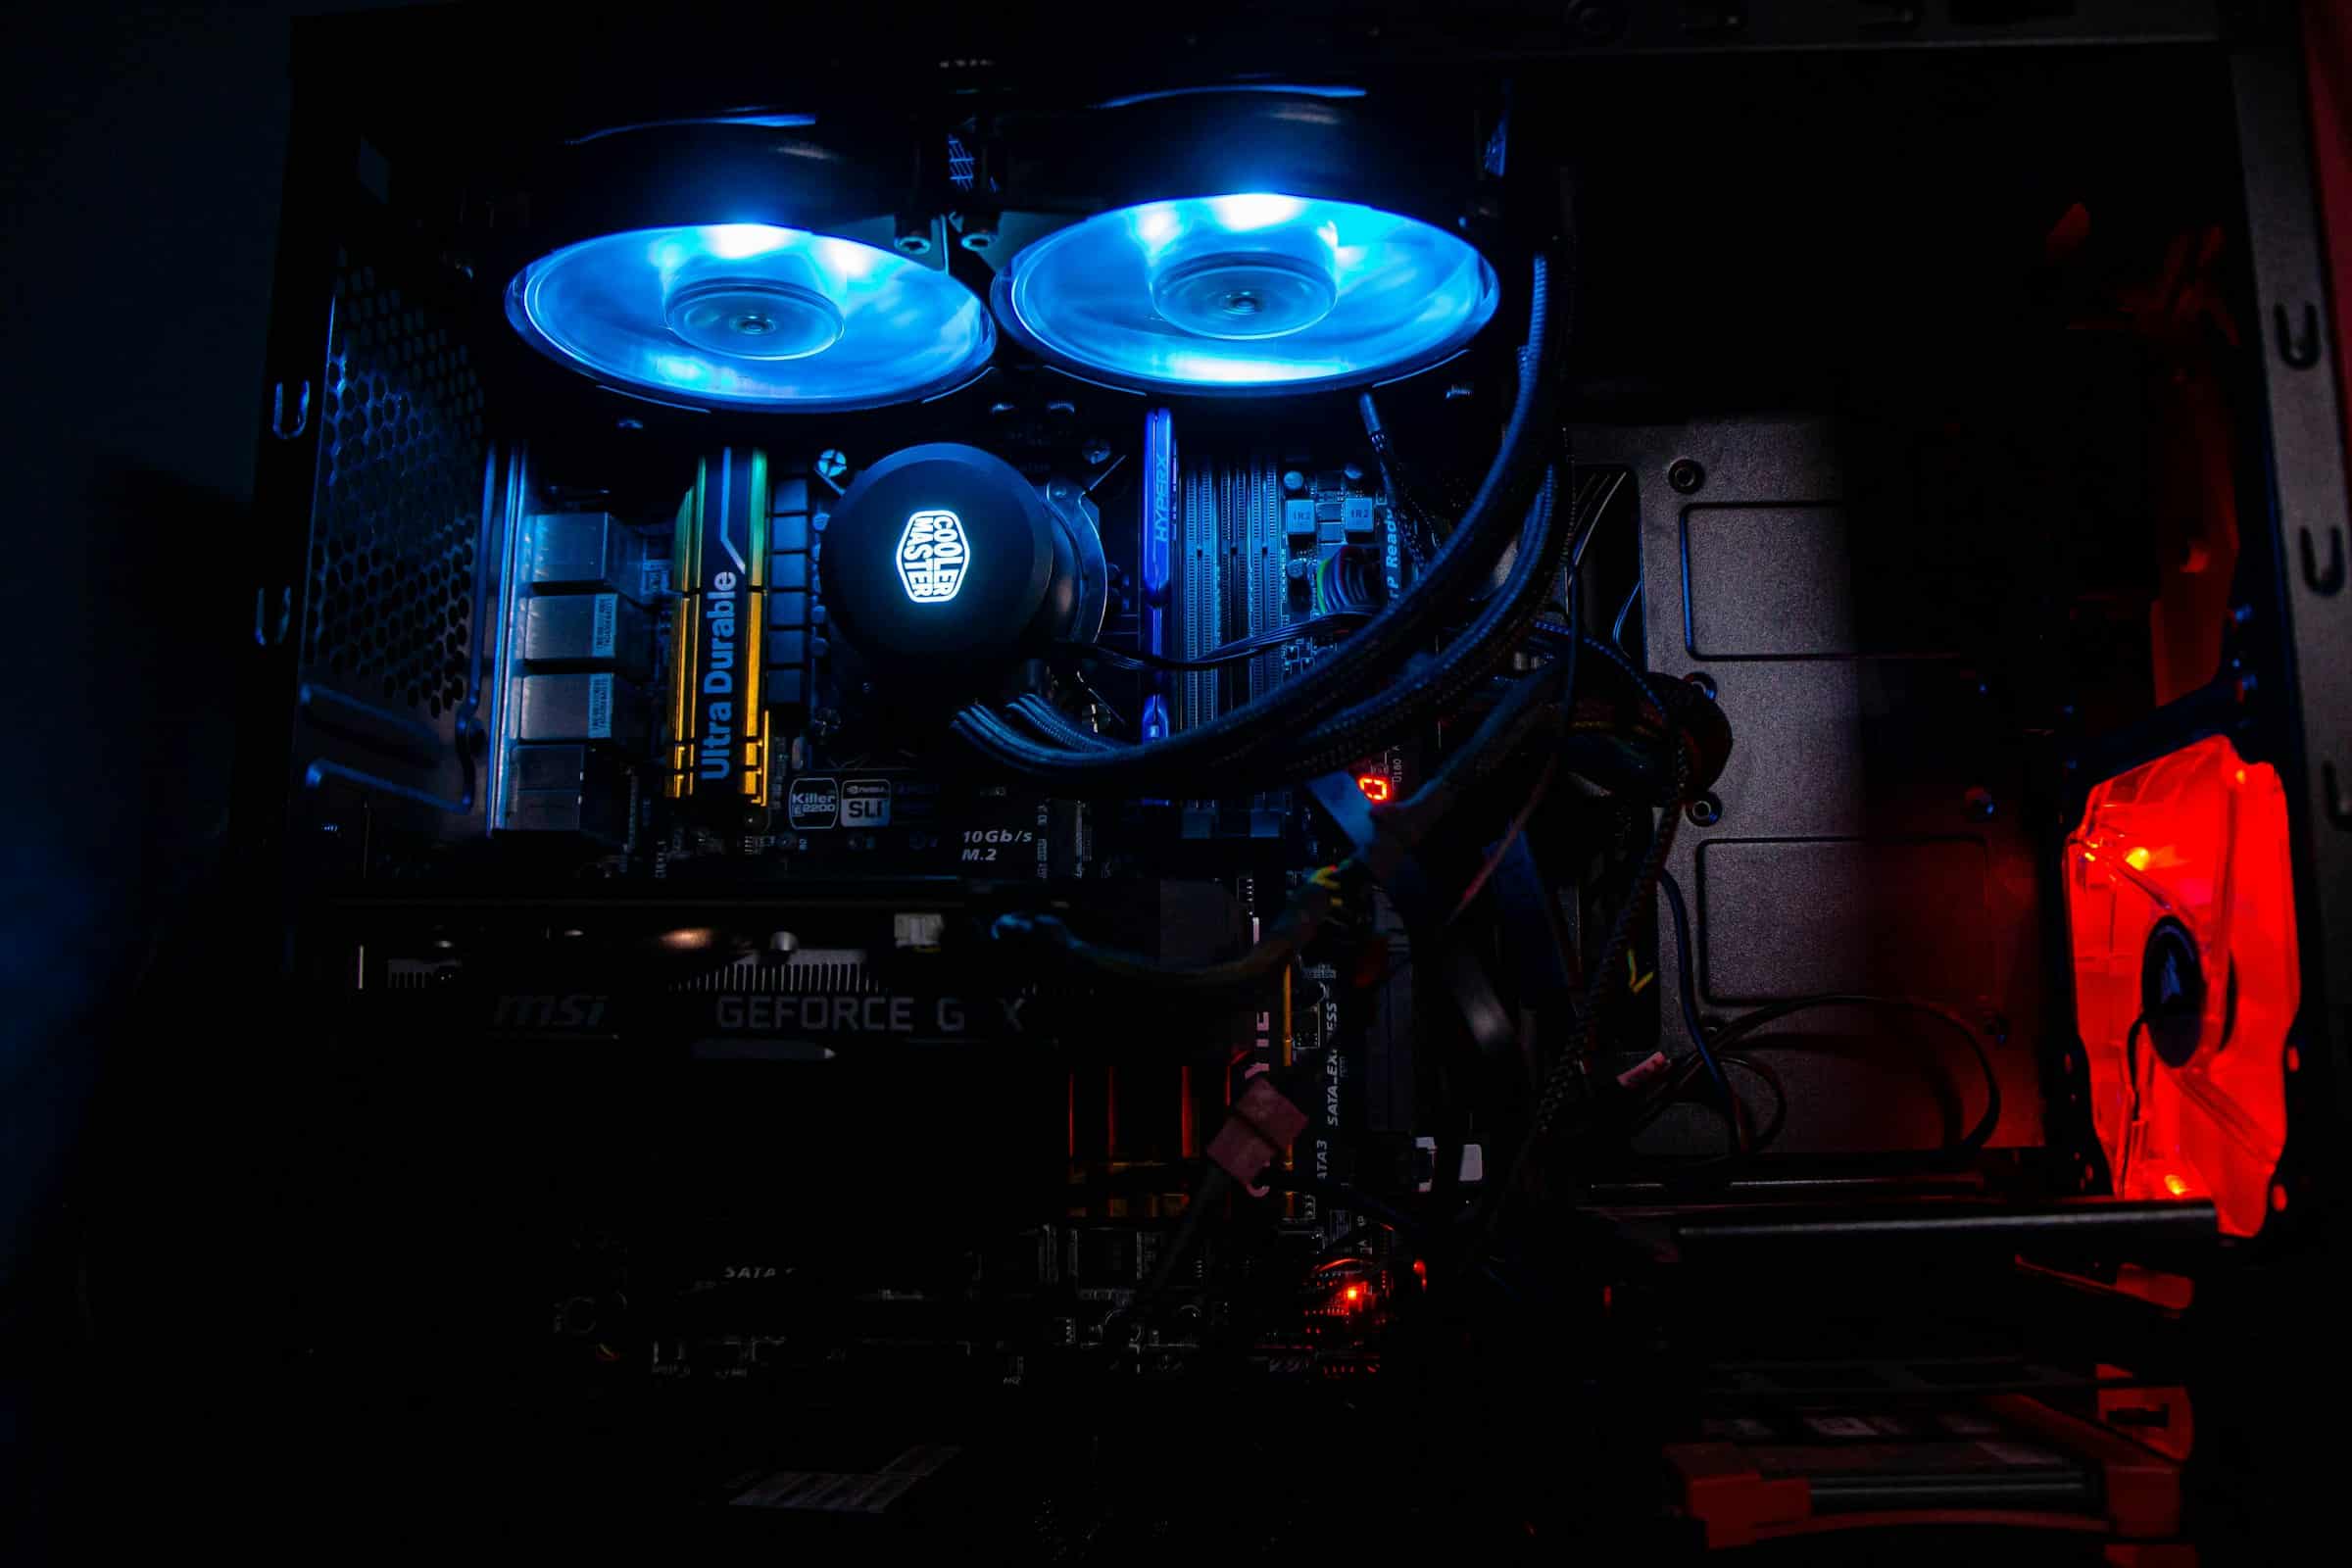
Now it's time to connect the pump to the CPU. Apply a small amount of thermal paste onto the CPU. Then attach the pump onto the CPU, ensuring the brackets align with the holes around the CPU socket on the motherboard. Firmly push down the pump until it is securely in place, then tighten the screws.
Finally, connect all the cables from the fans and the pump to the correct headers on the motherboard. If your liquid cooler comes with a USB cable, this should be connected to a USB header on the motherboard. This will allow you to control the lighting and fan speed of the cooler through the Corsair iCUE software.
Once all the cables are connected, replace the front panel of the case. Remember to be gentle to avoid damaging the RGB lighting on the panel.
You have now successfully installed a liquid cooler in your Corsair iCUE 4000X RGB case. Once you power up your system, the cooler will start working immediately, providing superior cooling for your CPU, and adding a touch of RGB lighting to your setup.
The installation process may seem lengthy and complex, but with patience and careful handling, it is a manageable task. The reward of a well-cooled, high-performing system is well worth the time and effort.
Managing cables is vital for maintaining optimal airflow in the system. Attention to detail will reward you with a cleaner, neater look, and improved thermal dynamics. Let's get started.
With all the components of the liquid cooler installed, you will notice numerous wires emerging from the fans, pump, and the RGB lighting. The goal here is to route these cables in a way that doesn’t hinder airflow and keeps the build aesthetically pleasing.
Begin by identifying the cables. Typically, these are power cables from the fans and pump, RGB cables for lighting, and a USB cable for the iCUE software control. The Corsair iCUE 4000X RGB case boasts a dedicated cable routing compartment behind the motherboard tray. Use this space to your advantage.
Route the power cables from the fans and pump to the CPU_FAN and SYS_FAN headers on the motherboard. The RGB cables connect to the RGB headers on the motherboard or to a Corsair RGB hub if one is present. The USB cable from the pump connects to any available USB header on the motherboard. This allows the iCUE software to control the pump speed and RGB lighting.
When all the cables are connected, use cable ties to secure them in the cable routing compartment. This will ensure unobstructed air flow and a clean look through the case’s tempered glass panel.
Finally, connect the power supply. Ensure the power supply is off and plug in the power cables to the motherboard, GPU, and hard drives as needed. With everything in place, you can now switch on the power and boot up your system.
Congratulations! You've successfully installed a liquid cooling system in your Corsair iCUE 4000X RGB case. The CPU cooler was the last piece of the puzzle, and your system is now ready for high-performance computing tasks.
With the liquid CPU cooler installed correctly, you will notice immediate improvements in the CPU temperature, even under heavy load. The water block on the CPU is being effectively chilled by the circulating coolant, and the mid tower case's design ensures optimal air flow.
Not to forget the stunning aesthetics the AIO liquid cooler adds to your build. The RGB fans paired with the iCUE RGB lighting illuminates your system, putting on a mesmerizing light show that can be customized using the Corsair iCUE software.
Remember, the goal of this guide was not only to help you install AIO cooler, but also to improve your system's efficiency and longevity while enhancing its visual appeal. The Corsair iCUE 4000X RGB case and the liquid cooler are excellent tools in achieving this goal.
You have taken a big step towards better thermal management. So, whether you're a gamer, content creator, or a PC enthusiast, sit back and enjoy the benefits of your upgraded system. Happy computing!